Setting up and using Fortify
This article explains how to enable Fortify in Kaseya SIEM, connect a Microsoft tenant, and use the Fortify interface to review security posture, apply recommended controls, and track configuration changes over time.
Fortify provides centralized visibility into Microsoft tenant security posture and allows you to apply supported security controls directly from Kaseya SIEM. Fortify focuses on configuration posture and control enforcement, not on alerting or threat detection.
Important: When to use Fortify vs Respond. Use Fortify when you want to review and improve Microsoft security posture. Fortify is used to evaluate tenant configuration, review Microsoft Secure Score–driven recommendations, and explicitly apply supported security controls. It focuses on posture, configuration state, and control enforcement, not on detecting or responding to live activity.
Use Respond when you want to automate reactions to detected activity.
Respond is used to define rules that trigger actions based on alerts or correlated activity after investigation confirms meaningful patterns. Respond does not change Microsoft configuration posture directly.
Before you begin
Before setting up Fortify in Kaseya SIEM, ensure that:
-
Fortify is available in your SIEM environment
-
You have Global Administrator credentials for the Microsoft tenant you want to connect
-
You understand that Fortify applies configuration changes directly to the Microsoft tenant when controls are applied
Enabling Fortify
-
From the side navigation menu, select Fortify.
-
On the next page, review the listed options and select Turn On Fortify
You may be prompted to authenticate.
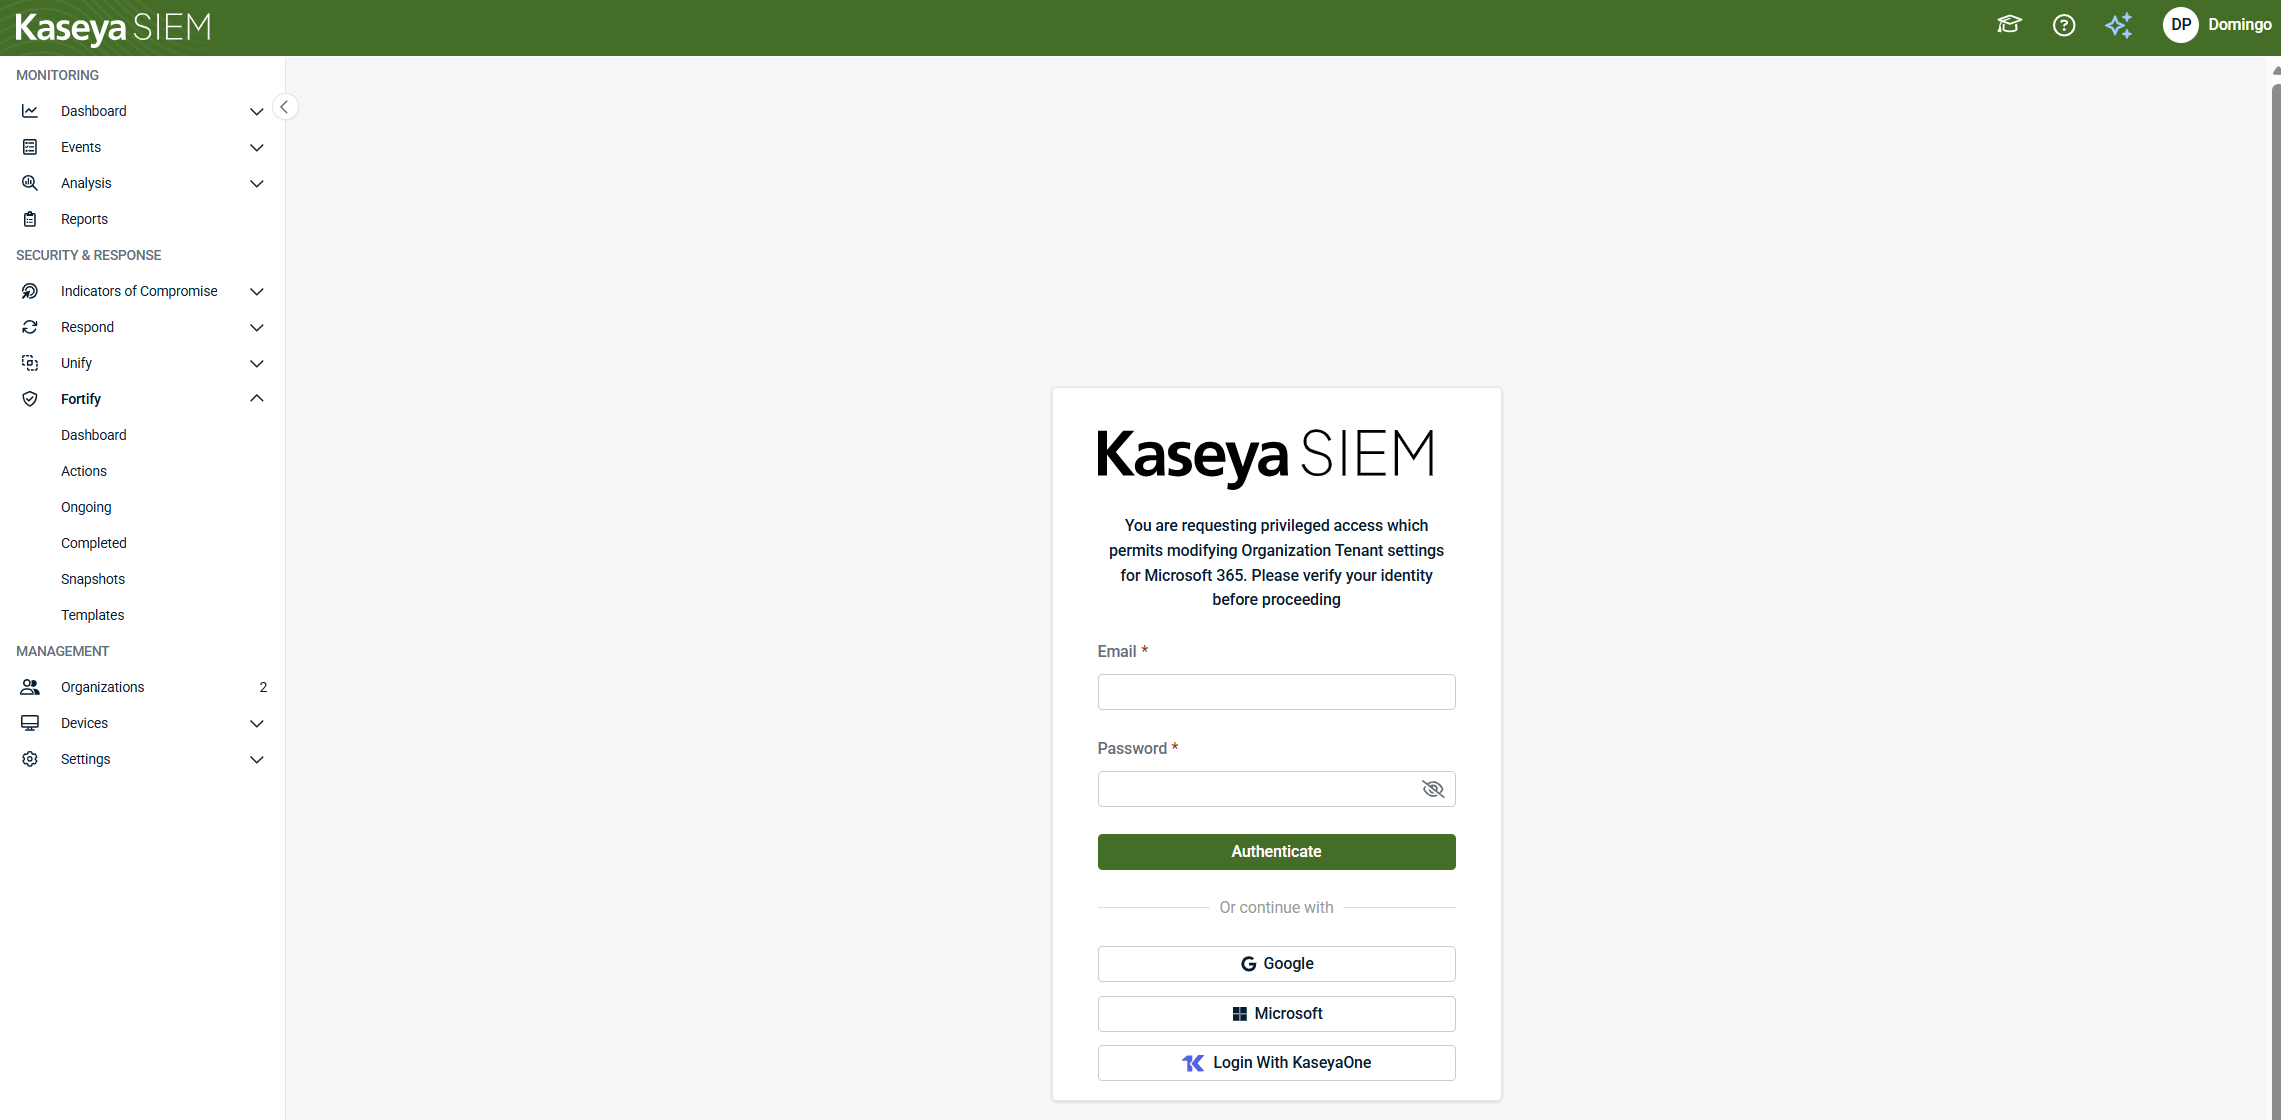
Connecting a Microsoft tenant
-
When prompted, authenticate using a Global Administrator account for the Microsoft tenant
-
Grant Kaseya SIEM permission to access the tenant
-
After authentication completes, confirm that the tenant connection status indicates that the connection is complete
-
Close the connection window
Once connected, Fortify begins evaluating the tenant’s security posture.
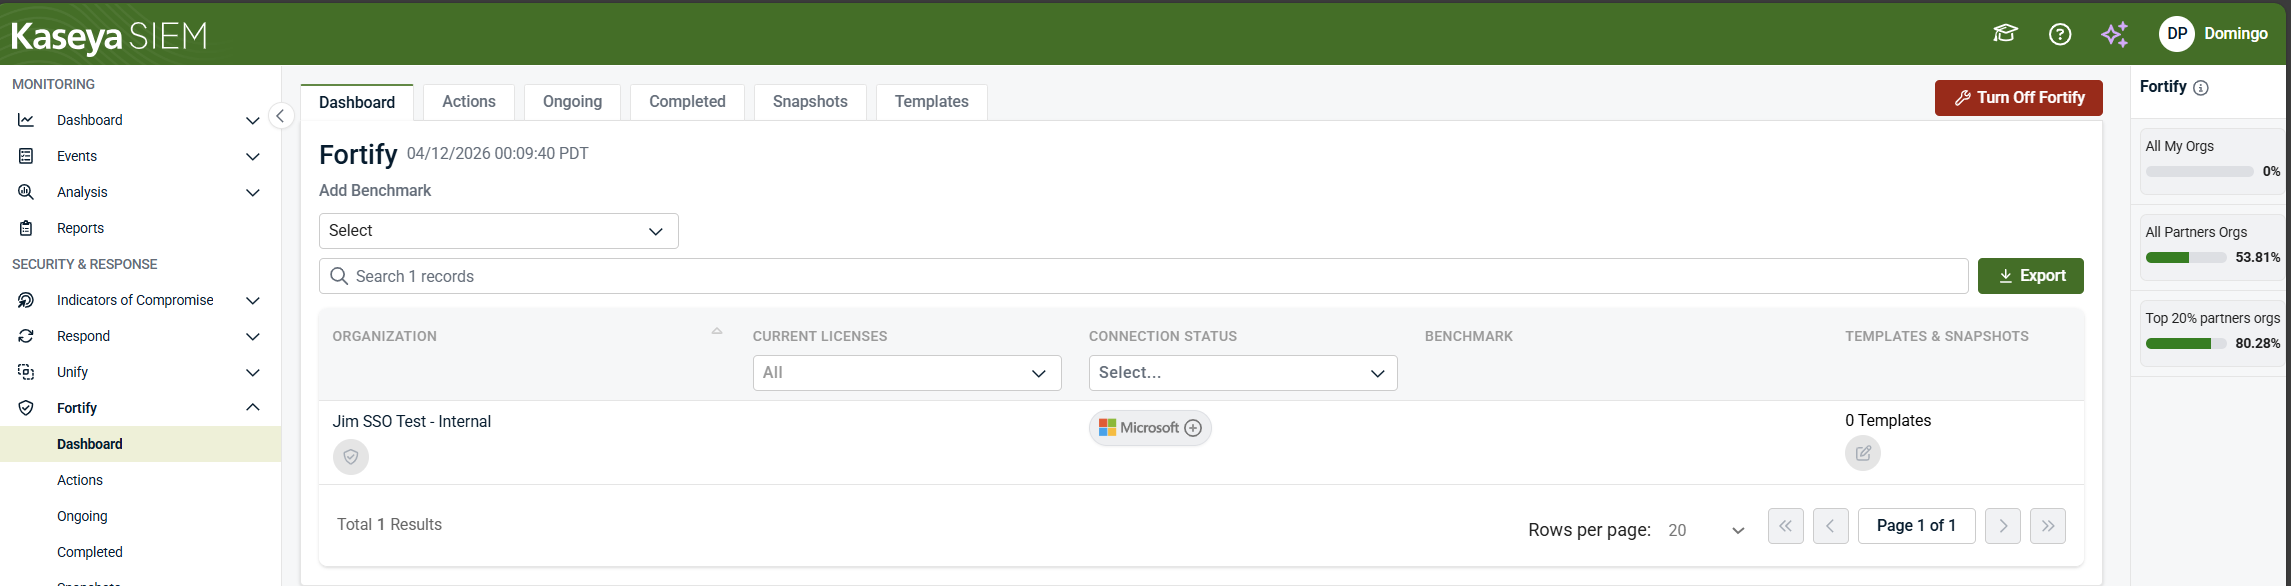
After Fortify is enabled and the tenant connection completes, the Dashboard tab opens automatically. This is the initial and default Fortify view.
The Dashboard displays:
-
All organizations with Fortify enabled
-
The Secure Score for each organization
-
Score impact indicators
-
Microsoft connection status
-
Licensing information that affects score potential
-
The number of templates and snapshots per organization
-
An Export option for Fortify data
Seeing the dashboard immediately after enablement is expected and confirms that Fortify is active.
Secure Score and score potential
The Secure Score represents the organization’s current Microsoft security posture as reported by Microsoft and surfaced through Fortify.
The maximum achievable Secure Score (score potential) depends on the organization’s Microsoft licensing model. Organizations with different licenses may have different maximum scores even if similar controls are applied. This is expected behavior and does not indicate a configuration issue.
From the Fortify dashboard, you can navigate to additional tabs that represent the Fortify workflow:
-
Actions
-
Ongoing
-
Completed
-
Snapshots
-
Templates
Each tab supports a different stage of reviewing, applying, and tracking Fortify controls, which are described in the sections below.
The Actions tab lists recommended Fortify actions for the selected organization. These actions represent security controls that Fortify can apply to supported Microsoft tenants.
From this tab, you can:
-
Review individual recommended actions
-
See the potential Secure Score impact of each action
-
Confirm whether an action is supported by the organization’s Microsoft licensing
-
Select one or more actions to apply
-
Open an action to review detailed configuration changes before applying it
Actions are not applied automatically. Configuration changes occur only after actions are explicitly reviewed and confirmed.
Selecting and reviewing Fortify actions
From the Actions tab, you can select one or more recommended actions to apply.
You can reach the Review pending actions screen in either of the following ways:
-
Magic wand icon: Select the magic wand to automatically select a group of recommended actions.
-
Manual selection: Select individual recommendations using the check boxes, then select Next.
Both methods take you to the action details and review view for the selected recommendation(s).
Reviewing a recommended action
When you open a recommended action, Fortify displays a detailed review screen that includes:
-
Organization name
-
Creation date
-
Score impact
-
Recommended action status
-
Whether Microsoft Secure Score has been updated
-
A detailed list of applied configurations
This view also includes:
-
A Status timeline
-
A History section showing when the action was applied or updated
-
A breakdown of the specific Microsoft settings affected
At this stage, you can choose to Apply or Dismiss the action.
Applying actions
If you select Apply Action from the action review screen, Fortify opens a second Apply Actions confirmation window.
This confirmation window:
-
Lists the action(s) being applied
-
Explains that applying actions deploys the selected security controls to Microsoft
-
Requires explicit confirmation before proceeding
To continue:
-
Review the listed actions
-
Select Apply Actions to confirm
Applying actions submits the selected configuration changes to Microsoft.
After submission:
-
A green success notification indicates that the action was successfully initiated.
-
A red error notification indicates that an issue occurred and the action was not applied.
If a success notification is shown, the action has been sent to Microsoft. Secure Score updates may take additional time to appear, depending on Microsoft processing.
Dismissing actions
If you select Dismiss from the action review screen:
-
The action is not applied.
-
Fortify moves the action into the Ongoing tab for tracking.
-
You may be prompted to record a reason for accepting or mitigating the risk.
Dismissing an action does not apply configuration changes to Microsoft and does not increase Secure Score.
The Ongoing tab displays Fortify actions that have been applied or dismissed and are still being tracked.
Actions may remain in the Ongoing tab even after they are successfully applied. This is expected behavior.
Why actions appear as Ongoing
Most Fortify recommended actions originate from Microsoft and rely on Microsoft Secure Score to reflect their impact. Microsoft recalculates Secure Score on a scheduled basis, which means:
-
An action can be successfully applied but still appear as Ongoing
-
Secure Score updates may take up to 24 hours to appear
If a success notification was shown when the action was applied, the action has been sent to Microsoft. A delay in Secure Score updates does not indicate a failure.
What you can review in the Ongoing tab
From the Ongoing tab, you can:
-
View the current status of applied or dismissed actions
-
See whether Microsoft Secure Score has been updated
-
Review applied configurations and affected settings
-
Track actions that are waiting on Secure Score recalculation
Selecting an action opens the detailed view, which includes status indicators and history.
Available actions in the Ongoing tab
Depending on the action and its state, you may be able to:
-
Re‑apply Action: Re‑initiate deployment of the configuration
-
Dismiss Action: Accept or mitigate the risk without applying changes
-
Undo Action: Roll back a previously applied configuration (when supported). Undo availability depends on the specific Microsoft control and tenant configuration.
These options allow you to manage actions even while they are still in an Ongoing state.
Dismissed actions
If you select Dismiss when reviewing a recommended action:
-
The action is not applied to Microsoft
-
The action moves to the Ongoing tab
-
You may be prompted to record a reason for accepting or mitigating the risk
Dismissed actions remain visible for tracking and review.
Important notes about Ongoing actions
-
Ongoing does not mean the action failed
-
Secure Score updates are controlled by Microsoft’s update schedule
-
Policy regressions or configuration drift may move actions back into Ongoing
-
No alerts are generated solely due to Secure Score delays
The Completed tab lists Fortify actions that have finished applying successfully.
Actions appear in the Completed tab when Fortify has applied the configuration changes and Microsoft has acknowledged the update.
What you can review in the Completed tab
From the Completed tab, you can:
-
Confirm which actions were successfully applied
-
Review the applied configurations and affected Microsoft settings
-
See the final Secure Score impact associated with the action
-
Review action status and history for audit or validation purposes
Selecting an action opens the detailed view, which includes configuration details and historical information.
What Completed means (and what it does not)
-
Completed means the action has finished applying and Fortify is no longer tracking it as in progress.
-
Completed does not mean the configuration cannot change in the future.
If Microsoft settings are modified outside of Fortify or if configuration drift is detected, an action may reappear as recommended or move back into another state.
Important notes about Completed actions
-
Completed actions no longer require monitoring for Secure Score recalculation.
-
No additional action is required once an item appears in Completed.
-
Secure Score values shown in Completed reflect Microsoft’s most recent update at the time of completion.
The Snapshots tab allows you to import and manage point‑in‑time security posture snapshots for an organization. A snapshot captures the Fortify‑evaluated Microsoft Secure Score and related configuration state at the time the snapshot is created.
Accessing the Snapshots tab
-
In the Fortify module, select the Snapshots tab from the top navigation.
-
The Snapshots page displays two sections:
-
Your Snapshots, which contains snapshots created by you or your organization
-
Community Snapshots, which may appear when available
-
If no snapshots exist, the page displays an Add Snapshots state with an Import Snapshots button.
Importing a snapshot
Snapshots are created by importing posture data from a connected Microsoft tenant.
-
From the Snapshots tab, select Import Snapshots.
-
The Select Microsoft Tenant dialog opens.
-
In the tenant list, locate the organization whose Microsoft tenant you want to snapshot.
If the tenant connection is inactive, Fortify displays a Manage application connections dialog indicating that a Microsoft connection is required.
All customer connections require a Global Administrator account specific to the customer domain.
4. If needed, select Manage connection and complete the Microsoft authentication flow.
5. Once the tenant connection is active, return to the tenant selection screen and select Next.
Reviewing snapshot details
After selecting a tenant:
-
Fortify advances to the Snapshot Details step.
-
Review the snapshot information associated with the selected tenant.
-
Confirm the snapshot import to complete the process.
Once imported, the snapshot appears under Your Snapshots in the Snapshots tab.
Snapshots are not created automatically. Each snapshot is explicitly initiated through this flow and represents posture at the time of import.
Connection behavior and auto‑upgrade options
When managing Fortify connections, you may be prompted to choose Auto Upgrade Connection Options:
-
Enable Fortify connections auto‑update: Allows new Fortify releases to be applied as they become available, including required permissions for newly introduced recommended actions.
-
Disable Fortify connections auto‑update: Requires manual updates for new Fortify releases and any additional permissions needed to support new recommended actions.
The selected connection behavior affects future snapshot imports, but does not retroactively change existing snapshots.
Using snapshots
Snapshots allow you to:
-
Capture Secure Score and configuration state at a specific point in time
-
Compare posture before and after configuration changes
-
Support audits, reviews, or reporting activities
Once created, snapshots remain fixed representations of posture at that moment. If Microsoft settings change later—either through Fortify or outside of it—those changes are reflected in new snapshots, not in previously imported ones.
The Fortify dashboard also indicates how many snapshots exist per organization, providing visibility into snapshot coverage across environments.
Snapshot creation and comparison behavior may vary by environment and is intended to support posture review rather than replace formal reporting or compliance workflows.
The Templates tab allows you to create and manage reusable Fortify configurations. Templates group multiple Fortify recommended actions into a single, reusable set that can be applied consistently across organizations.
From this tab, you can:
-
Create new templates
-
View templates created by you or your organization
-
Explore available community templates
-
Apply templates to standardize Fortify actions across organizations
Templates do not apply configuration changes automatically. They define reusable selections of recommended actions that must still be reviewed and explicitly applied through the Fortify workflow.
Viewing templates
-
In the Fortify module, select the Templates tab.
-
The page is divided into two sections:
-
Your Templates, which lists templates created by you or your organization
-
Community Templates, which lists templates shared by other MSPs when available
-
Each template entry displays its name, description, tags, author, and the number of organizations to which it is currently applied.
Creating a new template
-
From the Templates tab, select New Template.
-
Provide a template name and optional description.
-
In the template editor:
-
Review the list of Unselected Recommended Actions
-
Select one or more actions to include in the template
-
Selected actions appear in the Selected Recommended Actions list
-
Recommended actions shown in the template editor reflect licensing requirements. Some actions may only be available when specific Microsoft licenses are present.
4. Assign at least one tag to the template.
-
Tags are required and are used to organize and categorize templates.
-
If no suitable tag exists, you can create a new tag during this step.
5. Save the template.
Once saved, the template appears under Your Templates.
NOTE Templates shown in examples or demonstrations are for illustration purposes only and do not represent best-ractice or recommended configurations.
Applying a template to organizations
Templates can be associated with one or more organizations.
-
From the Templates tab, locate the template you want to apply.
-
Select Modify organizations for that template.
-
In the organization list:
-
Select one or more organizations
-
Add them to the selection
-
Confirm the change.
-
After confirmation, the template shows the organizations it applies to. The same association is also visible when viewing organizations from the Fortify dashboard.
Template activation, publishing, and deletion
Depending on the template state, additional actions may be available:
-
Activate Template: Activates the template so it can be evaluated and associated with organizations
-
Publish Community Template: Submits the template for review so it can be shared as a community template. Tags and organization associations are not carried over when publishing to the community
-
Delete Template: Permanently deletes the template. Deleted templates cannot be recovered unless they were previously saved as a draft
Confirmation dialogs appear when activating, publishing, or deleting templates to ensure changes are intentional.
How templates are evaluated
When a template is applied to organizations, Fortify periodically evaluates the selected actions (approximately every 24 hours) to identify newly applicable recommendations or configuration drift.
Template evaluation does not automatically apply configuration changes. Any recommended actions identified through template evaluation must still be reviewed and explicitly applied.
Summary
-
Templates define reusable groupings of Fortify actions
-
Templates support consistent configuration intent across organizations
-
Templates are evaluated periodically, but do not enforce changes
-
All configuration changes still require explicit review and application
How the Fortify workflow fits together
Fortify follows a clear lifecycle:
-
Dashboard: Review posture and confirm connectivity
-
Actions: Review and select recommended changes
-
Apply Actions: Explicitly deploy changes
-
Ongoing: Monitor deployment progress
-
Completed: Confirm applied controls
-
Snapshots: Track posture over time
-
Templates: Standardize future configuration
Operational considerations and boundaries
-
Fortify applies configuration changes directly to the Microsoft tenant.
-
All actions require appropriate Microsoft permissions.
-
Secure Score updates may not be immediate.
-
Fortify configuration and enforcement are separate from:
-
Unify correlation and investigation
-
Respond rule execution
-
-
Fortify should be used deliberately, especially in production environments.
Related articles
Use the following articles to continue working with Fortify or to understand adjacent workflows in Kaseya SIEM:
-
Creating Respond rules: Learn how to define alert‑ and action‑driven automation rules that respond to detected activity after investigation confirms meaningful patterns. Use this when you are ready to automate reactions, not when adjusting Microsoft configuration posture.
-
Using the Respond module: Understand how Respond rules are reviewed, validated, and executed during daily operations, including alert‑only, manual approval, and automated outcomes.
-
Using Kaseya SIEM: Learn how to review alerts, investigate activity with context, and decide when escalation or automation is appropriate during day‑to‑day security operations.


